Let's get started on making 3D virtual tours
Before we start diving deeper into the creation of 3D virtual Tours, we should have a clear overview of the main concepts of the software.
Photographic material
Any camera / lens can be used here, the only requirement is to work with equirectangular images, no matter the origin.

* equirectangular panoramic image 360º x 180º
Important: Lidars or stereo cameras are not needed to be used in the software to create the 3D virtual tours
Panorama relations
There is just one rule to follow during the photographic session :
- there should be a shared visual region between panos
This is something that normally happens in virtual tours because of the panos tend to be linked through hotspots, that means that most of the panos you have been producing during years, most probably can be used to remake those tours in 3D.
This visual relation is what is going to allow us to create references between the different panos, and locate them in a 3D space.
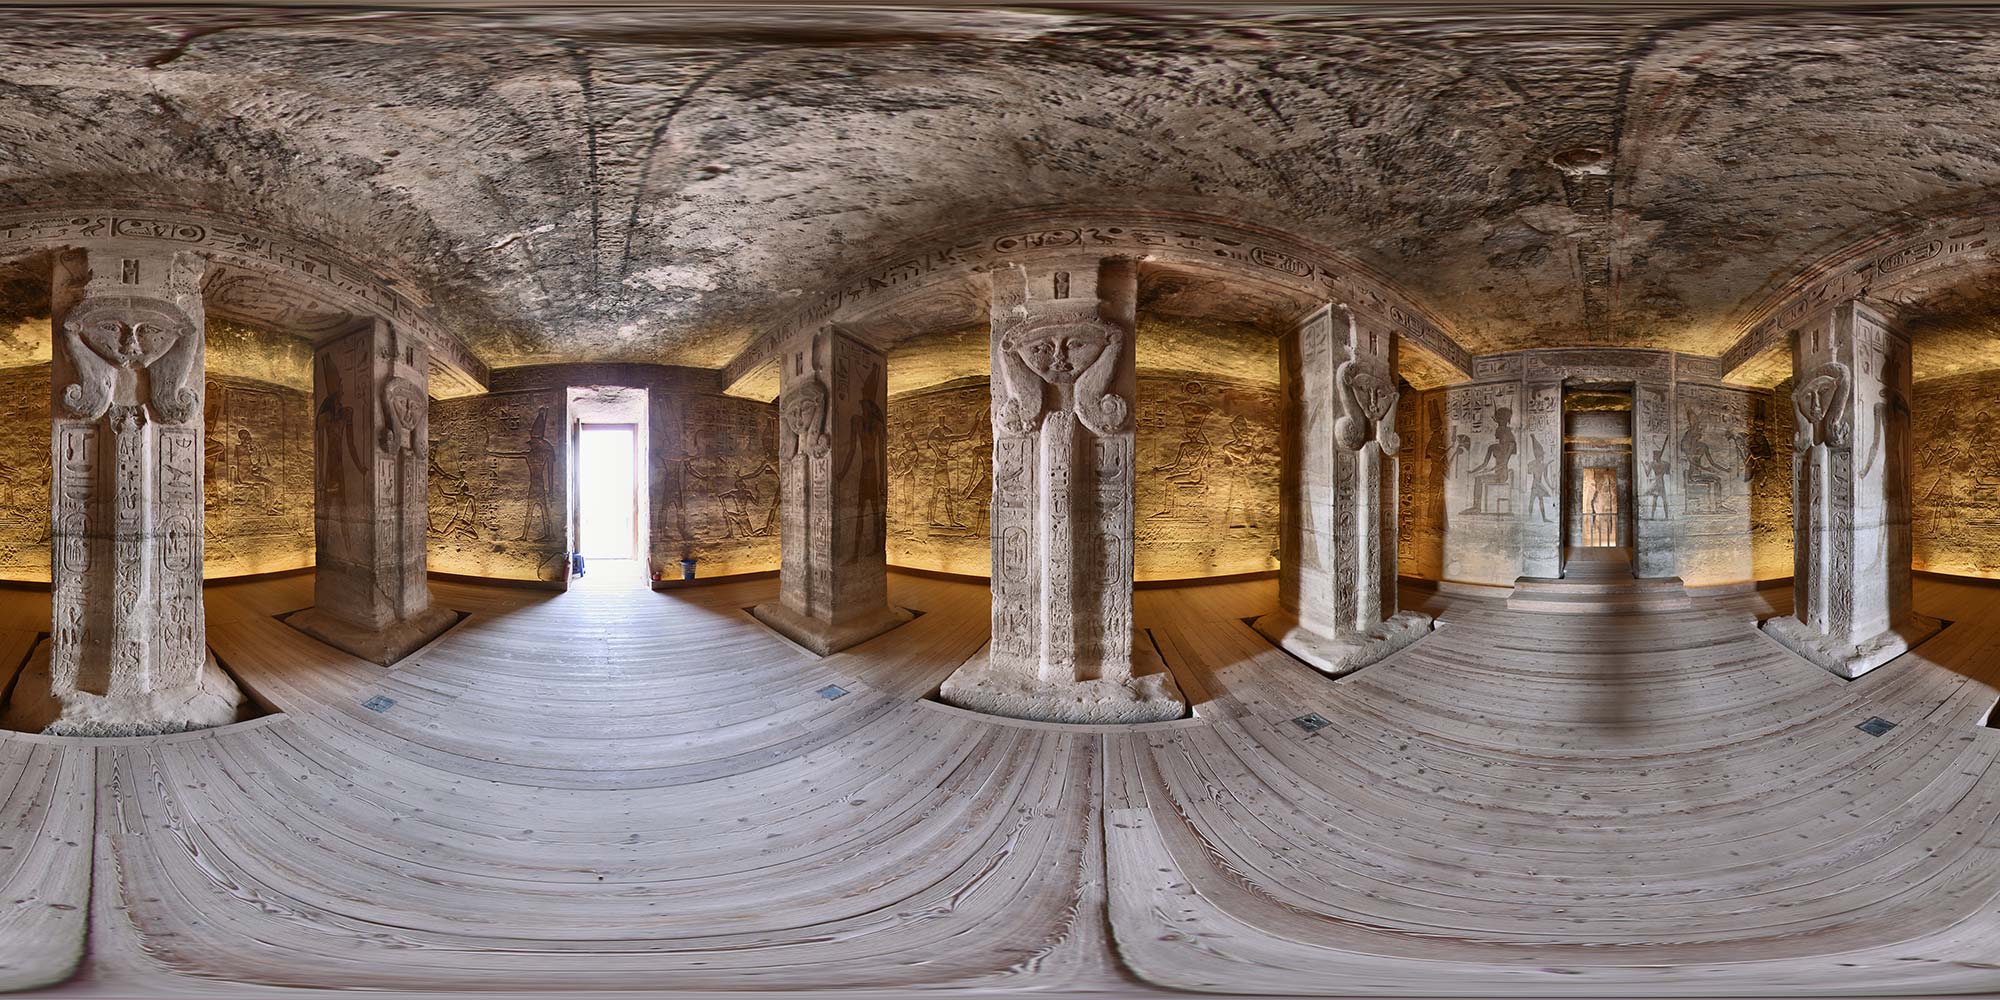
An example of this visual relation between panos could be the next
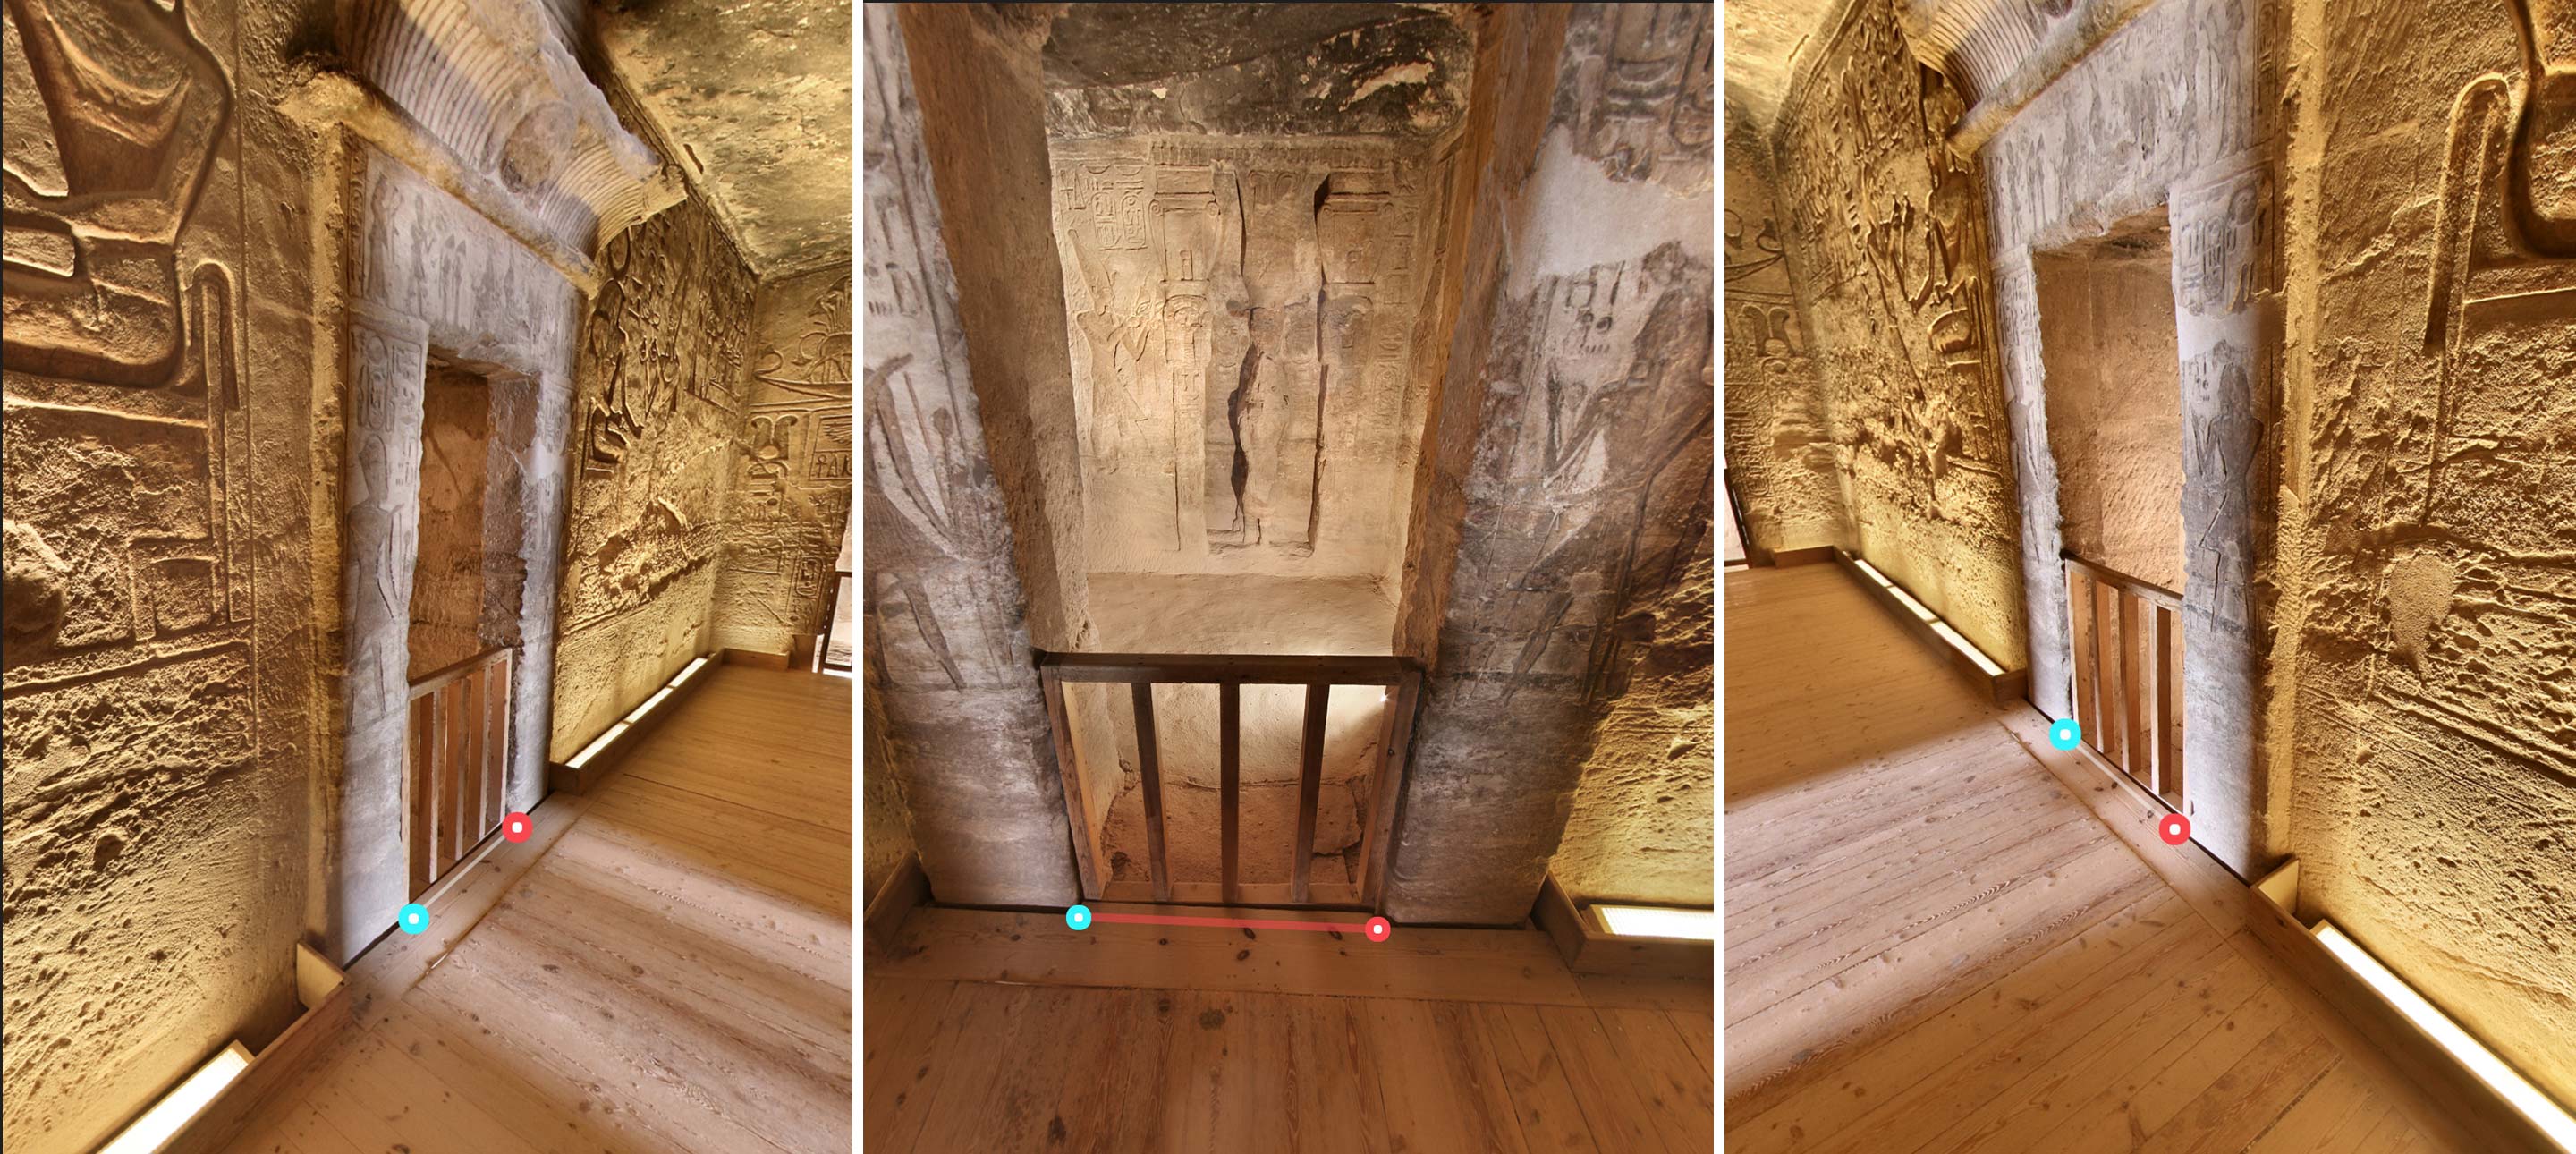
* 3 panoramic images in Abu Simbel 2008
3D Model
Once all the panoramas are related in a model, we can start modelling the space. That's because once panoramas are related, the 3D geometry that we draw in one panorama, that geometry will be automatically projected to all other panoramas of the model.
We are going to model 3D objects from within the panoramic images, so one important thing here, is make it simple.
With some practise you will improve a lot your skills on how to simplify shapes, for example the maximum expression of that concept would be to define a space by creating a cube.